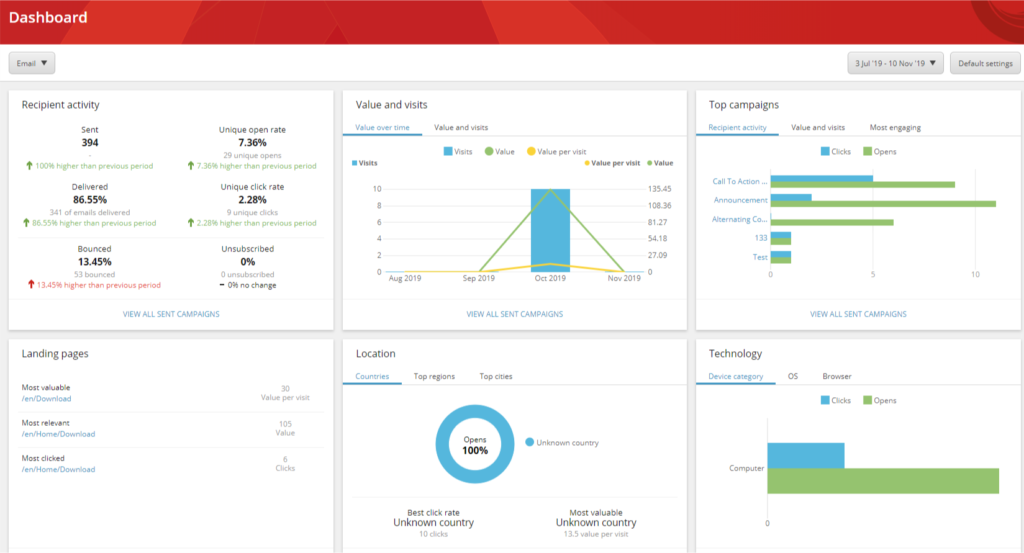
The Email Experience Manager (EXM) is one of the most important and used tools by marketers. It allows them to create email campaigns, manage recipient lists, view analytics reports, etc to better engage with their users:

As a developer, whether we are developing custom email templates or testing EXM on a new Sitecore install, it’s important that we can make sure Sitecore is able to send email messages and connect to our SMPT server. While Sitecore offers their own Sitecore Email Cloud, sometimes, specially in a local setup, is more beneficial to use a custom SMPT server. This is where the open-source SMTP server, Papercut, comes in.
First, lets download and run the latest release of Papercut here:
https://github.com/ChangemakerStudios/Papercut/releases
(No need to change the default port: 25. If wanted, this port can be changed in Papercut.exe.config in the same folder as Papercut.exe)
Next, lets navigate to: \App_Config\Sitecore\EmailExperience\ in our web root. Where, we will disable Sitecore default Email Cloud Provider. And, we’ll enable our custom SMTP server. The following config files should look like this:

Almost done, open the file: Sitecore.EDS.Providers.CustomSMTP.config and make sure the SMTP server is set as localhost and port to 25.
And, we are done! We are ready to test our new server. Let’s fire up EXM and try to send a quick email campaign. In the review tab, input any valid email address and hit Send.
If everything is working correctly, you will see a new message being delivered to our Papercut server!
Hope this mini tutorial was helpful to start understanding how EXM works in Sitecore
