With the introduction of XM Cloud, we need to rethink how we are going to implement our search features as we can’t use Solr from our rendering instance. But not to fear, Sitecore Search is here to the rescue! Not only it’s a fantastic SaaS platform that solves this problem, but it also packs great features from an AI-driven solution.
The first step to start an implementation of Sitecore Search for our site is to start feeding data into the platform. In order to do this, we have two main options: Web Crawler and Push API.
Web Crawler
Probably the most common type of source we are going to be using, a Web Crawler is recommended when your items can be crawled directly from the web.
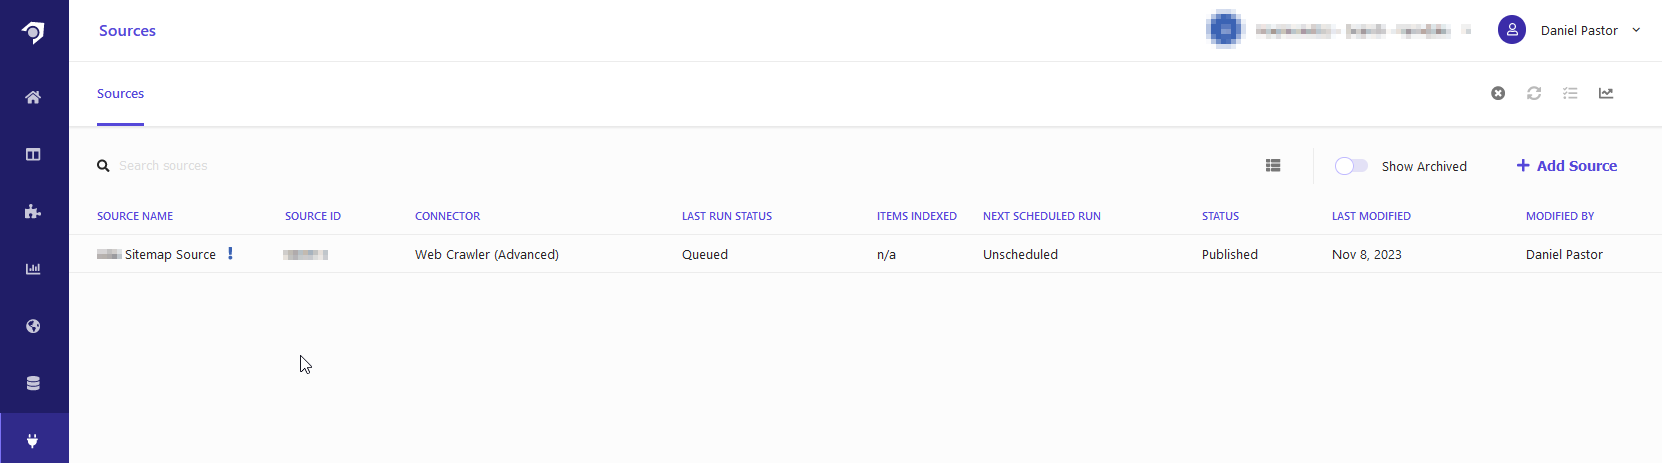
First, start by heading into the Sources section of your Sitecore Search dashboard and select “Add Source”:

In the next screen, we are going to name our new source and we get to select the type of source we want to configure. In this case, we are going to select Web Cralwer (Advanced):

“Web Crawler Advanced” provides us with more options compared to Web Crawler as it allows us to manage multiple locales (something that we will cover in a future post) and the ability to tweak the code that runs on every page crawl.
Once the source has been created, head into the Web Crawler Settings where we are going to tweak some of the parameters of our source. We are going to pay special attention to the following sections:

- Max URLs: Here we can limit how many items our source will be able to index.
- Parallelism Workers: The number of crawling workers that are going to run in parallel scanning our site. Increasing this number can decrease the time it takes this source to complete the crawl but we should be careful and make sure that our site can handle the number of requests in a short period of time (2 has worked great in my experience)
- Timeout: How long the crawler is going to wait while a page loads before timing out. This one is especially important if your site is not using cache or perhaps it’s a lower environment where some pages might take longer to load.
- Headers: Here, we need to specify the browser agent that the crawler is going to use when hitting our pages. In my case, I used the following value:
Mozilla/5.0 (Linux; Android 6.0.1; Nexus 5X Build/MMB29P) AppleWebKit/537.36 (KHTML, like Gecko) Chrome/W.X.Y.Z Mobile Safari/537.36And finally, we get to the most important section of the source configuration. Under Triggers, you can specify where the URLs of your site are going to be retrieved:

THe most common trigger type is going to be a sitemap since it contains all the URLs on the site. However, Sitecore Search also offers the ability to configure triggers for RSS feeds, Javascripts that contain a list of URLs, or even an HTTP Request that would return the list of URLs.
While there are more settings that we can tweak on the source configuration, this should be enough to start retrieving items from our site. So, go ahead and hit Publish on the top right corner. This will save the new source and it will start the first scan of our site. If everything goes smoothly and the site is reachable by the Sitecore Search crawler agents, after a couple of minutes (depending on the size of your site), the source will report that it Finished and the number of items that were indexed 🥳

Push API Source
The next source type we are going to cover is pushing items directly through Sitecore Search’s API. This one is specially useful when our items might not crawlable but we want to use them or display them through Sitecore Search services.
For instance, a client wants to generate a listing module powered by Sitecore Search that will display their leadership people cards with the ability to apply facets or faceting. Since these cards don’t have corresponding pages that can be retrieved by a Web Crawler source, we need to find another way to feed it into Sitecore Search. This is where the Push API comes into play.
To get started, we need to create the new source in the dashboard. Similarly to the Web Crawler we created above, head to the sources section and click on add source. But this time, select “API Push” as the connector type:

This will create a new source that where we can push data through the Push API (also called Ingestion API).
Creating a Document
We can start creating items on this source by making a POST call to the source URL. The URL can be assembled as follows:
https://<base-url/domains/<domainID>/sources/<sourceID>/entities/<entity>/documents
Where the domain ID will be the ID of your sandbox and entity will correspond to the index that the document belongs to (i.e. “content”).
And the payload will have payload with all the information of our item:
{
    "document": {
        "id": "ITEM_ID",
        "fields": {
            "title": "PEOPLE CARD 1"
            "description": "JOHN DOE",
            "type": "PEOPLE_CARD"
        }
    }
}
Note: we need to include all fields that have been marked as required in the Attributes section under the Domain Settings of our dashboard.
If the request is successful, we are going to receive a 200 response with a body that says:
{
    "enqueued": true
}
Updating an existing document follows a similar process. We need to make a post to the same URL with a payload that will include the same item ID and any field that we would like to update (fields that are not included will remain unchanged on the item). For instance:
{
    "document": {
        "id": "ITEM_ID",
        "fields": {
            "title": "JOHN DOE CARD"
        }
    }
}
Final Thoughts
It’s very important to understand when to use the right source type for our content. The general rule of thumb is that if the item is a crawlable, we should be using a Web Crawler source, and for items that are only available in our CMS and don’t have a corresponding page, we should be using a Push API Source.
Now that we know how to get information into Sitecore Search, we can start thinking about how we are going to use it and display it in our site. In our next blog post, we are going to go over different ways to consume Sitecore Search services and the best approach depending on our needs 😉